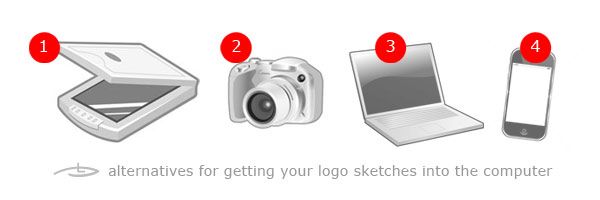
Okey, there are 2 widely known and used techniques to prepare your logo sketches and put them on the screen, so you can vector trace your new logo design.
- Scan them ( put the sheet of paper inside the scanner, turn the scanner ON, wait for a for the printer to warm up, wait to twain, take the sheet back, turn the scanner OFF, get the sheet out )
- Photo them ( turn your camera on, shoot, connect the camera to the computer with a cable)
Usually I prefer to make a photo of my logo sketches, but sometimes the camera is not around or the battery is dead.. and what if I’m not in the office and there’s no scanner ?
Answer : just use the built-in video/photo camera in your laptop
It’s not the best quality you’ll get, but if the computer itself is ON, you’ll be able to do this annoying working step pretty fast.
These are the exact steps if you are using a MacBook:
- Call Photo Booth ( the built in program for taking pictures with the camera )
- Take picture by pressing the button with the camera icon.
- Mark the photo and press the iPhoto button ( this will call the iPhoto)
- In iPhoto rightclick it and choose “show file” ( now you have your logo )
Here goes the recommended post – process so that you can make your life easier in your favorite vector program ( AI )
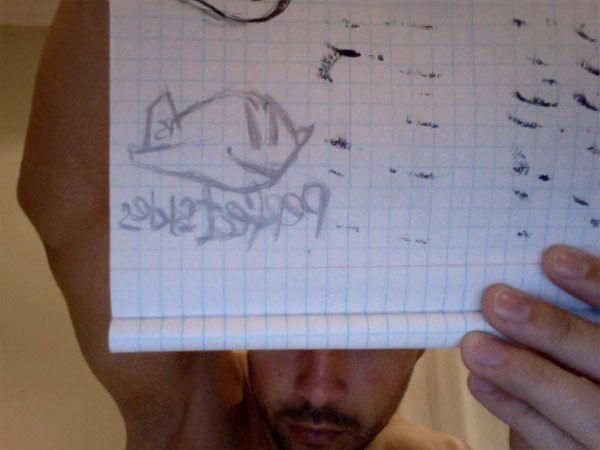
You’ve just taken a mirror picture of your logo sketch

May be you would like to flip it horizontal ( image > image rotation > flip horizontal in Photoshop )
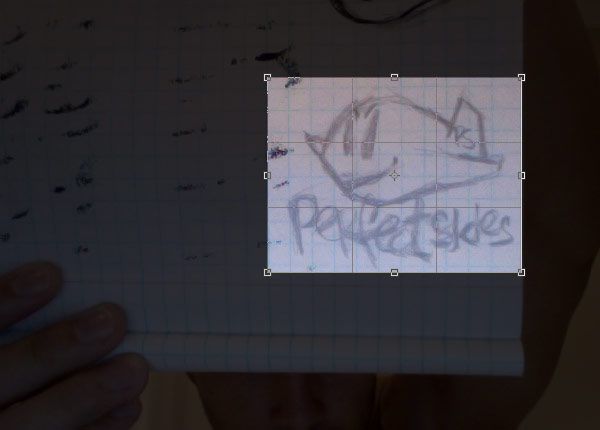
Crop it ( press C in PS )
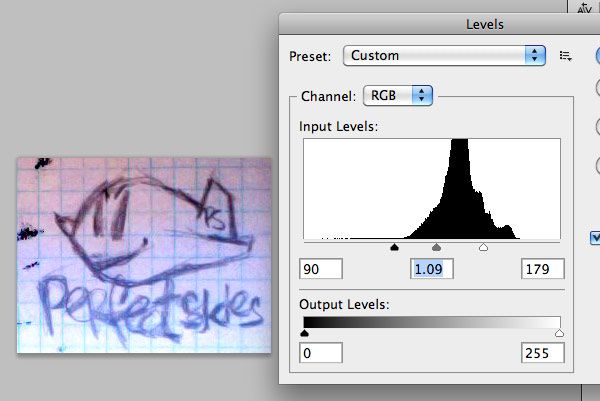
Tune the levels / contrast a little bit ( press cmd/ctrl + L )
Now you are ready to start the real fun ;)
PS: if you don’t have built-in camera – you can always use your cellphone and transfer the pictures via the bluetooth or the wifi pretty fast.


